Pencil Sketches Tutorial Biography
source(google.com.pk)When designing user experiences with interactive surfaces, hand drawn paper-pencil sketches are a valuable tool for finding the right design; long before refining the work and getting the design right [1,2]. Sketches are lightweight and easy to create, and by varying the fidelity of sketches they can be an integral part during all stages of interaction design. This hands-on tutorial will demonstrate how to integrate sketching into researchers’ and interaction designers’ everyday practice – with a particular focus on the design of applications for interactive surfaces (e.g., phones, tablets, large interactive whiteboards). Participants will learn essential sketching strategies, apply these in practice during various hands-on exercises, and learn the various ways of using sketches as a powerful tool when designing novel interactive systems.
Tutorial Structure
The tutorial is divided into the following three units:
I will begin with the motivation behind using sketching as a tool for designing user experiences. I will illustrate these points by telling eight short stories of how other researchers' and designers' use of sketches inspire my own work – including sketches drawn by inventors such as Alexander Bell or Thomas Edison. The sketching examples during part of the talk will also illustrate the unique properties of sketches as introduced by Buxton [1].
Next, in the main part of the tutorial, I will guide participants through selected sketching techniques and strategies. These techniques are partially based on our “Sketching User Experiences Workbook” [4], but also include many other techniques and examples not covered in the book. Live sketching demonstrations and step-by-step instructions will illustrate a basic toolset for getting started sketching your own ideas. Some of the demonstrated techniques include (see [4]):
Sketching vocabulary: learning to quickly draw objects, people, and their activities
Sketch notes [5]: keeping visual notes of ideas, meetings, and other events
10 plus 10 design funnel: developing 10 different ideas and refinements of selected ideas
Photo tracing: create collections of sketch outlines that form the basis of composed sketches • Hybrid sketches: combining sketches with photos
Storyboards [3]: creating visual illustrations of an interaction sequence over time, and telling a story about use and context over time
Sketch boards: sharing and discussing sketches with others; running critiques
With a series of hands-on exercises during the tutorial and different provided templates, the participants of the tutorial can directly apply the learned techniques in practice (see examples in Figure below). A focus throughout these examples will be the sketching of novel interactive surface applications.
Finally, during the third part of the tutorial, I will demonstrate how I used sketches in six recent projects of designing novel user experiences for interactive surfaces (e.g., tabletops, wall displays, tablets, phones). These examples highlight how to apply the learned sketching techniques during all stages of the design process. I end the tutorial with an overview of additional resources and books about sketching techniques, and software and hardware for digital sketching.
Short Biography
Nicolai Marquardt is Lecturer (Assistant Professor) in Physical Computing at University College London. At the UCL Interaction Centre he is working in the research areas of ubiquitous computing, physical user interfaces, proxemic interactions, and interactive surfaces. Nicolai did his PhD in Computer Science at the University of Calgary with his advisor Saul Greenberg. He is a former intern at Microsoft Research Cambridge/UK and Redmond/USA and received an MSc/diplom degree in Media Systems from the Bauhaus-University Weimar. Nicolai is co-author of the book "Sketching User Experiences: The Workbook" (Morgan Kaufmann 2012) with Saul Greenberg, Sheelagh Carpendale, and Bill Buxton.
Warning: May cause severe headaches! Consult a doctor before attempting. Requires moderate to strenuous concentration (Just kidding! —well, I suppose you can get a whopper of a headache if you over do it.)
First, purchase a large sheet of watercolor paper, about 80 lb. weight. Because of what you are about to undertake, the paper will take a beating, so thick watercolor paper will help prevent crinkling and other damage. Turn the paper and use the back side which should be smoother. If you are drawing a face, the smooth side may have just the right texture to help you simulate skin.
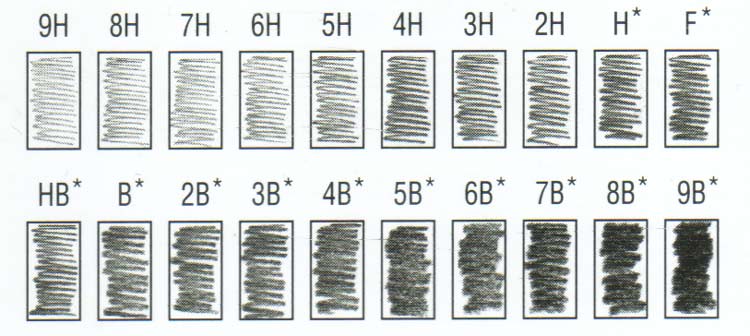
Purchase some cheap mechanical pencils, the kind that you can buy at the grocery store (see below).
Mechanical pencils good for photorealism
As you can see, I'm using 0.7 mm lead. I will also use a 4H, HB (#2) pencil and a Kneaded eraser (also known as putty rubber) for picking up graphite particles. These tools will give you precise control over what you draw.
Photorealism evolved from Pop Art in the 1960's. It was a reaction against the ubiquitous use of photography in media and abstract expressionism in art. I happen to enjoy both realistic and abstract art and don't see a reason to compare. Everything is cool on some level, I suppose. The one thing realism is particularly good at is reaching a broad audience with the clear message: nature is beautiful. In photography, even a tragic image can be breathtakingly beautiful. In photorealistic art, sometimes the same can be achieved, but with an extra human dimension. With this in mind, always strive for a little tension and conflict. You can save all the drama for your momma, but in art, go ahead, pour everything out --and in the end perhaps you'll capture something ineffable or at least your very best.
Okay, let's start:
The human face is probably the most difficult subject to render accurately. It takes years of practice to develop the skills needed to capture proportions and subtle features that make for a convincing resemblance of a person. If you're not a portrait artist, you can still use these techniques to draw other subject matter. A piece of machinery or tree trunk or still-life of any kind can be a beautiful and impressive work of art. If you feel that you have little artistic talent, you may want to try a simple exercise to shift your consciousness to the right side of your brain. Take a photograph and turn it upside down. Then try to draw it. You may be surprised at how well you draw. However, an artist doesn't necessarily have to be 'right brained.' You also don't need to be left-handed (I'm right handed).
Ideally, work from a very detailed, high resolution photograph with good contrast. If you have a graphics editing program, such as Adobe PhotoShop, crank up the levels until all the details are dark enough to see. Use your computer screen to zoom in on the details. Being able to see a close-up of a particular facial feature makes it much easier to draw something with photorealistic detail.
The first stage is the hardest part of the drawing. You are solving a difficult problem: how to create a two dimensional representation of a three dimensional object. This example is particularly difficult since it is a three-quarter view, and will depend on careful observation.
With an HB (#2) pencil, very lightly scribble the forms that create the illusion of volume. Draw, erase, redraw and erase again. The thick watercolor paper will serve you well as you erase many times. The key is permitting yourself to make a multitude of mistakes until you begin to see progress. If you look at an old drawing by a renaissance master, you may notice many stray lines, which reveals the great struggle that sometimes takes place as the drawing is developing.
Remember, this is not a classical drawing. You'll have to betray all your artistic notions about the creative method. Instead of organically building the composition up as a whole, photorealism requires that you work mechanically, This early stage of the drawing is the closest you'll come to a melodic artful approach. It may even look like a gesture drawing, loose scribbles, until something forms and emerges from the chaos. As you activate the plane with energy, use this time to express movement and emotion.
drawing number 1
Once you've made the drawing of the face, you've essentially completed the portrait. If you wanted to, you could frame it and invite others to appreciate the weight and linear continuity of the composition. It might not look out of place in a museum of modern art hanging next to a drawing by Alberto Giacometti. So feel free to admire it for a while, appreciating all the interesting lines and what might look like accidental or random marks.
All right, this is a photorealism tutorial after all. Let's get to it. Here's a close up of the right eye (image below).
It's been said before that art is a discipline of awareness. The most important activity that we'll be involved in for the rest of the drawing is observation. To put it simply, notice, notice, notice, interesting shapes. The more interesting the shapes seem, the more you may want to exaggerate slightly so others will notice them. It may seem silly, but the greatest joy in drawing can be falling in love with shapes. Shapes are formed by positive and negative space. Tiny details are like hidden treasures that you look for and find, drawing circles around them like word search puzzles. Below, I start off with an exquisite find: a rectangle and a couple of lines within the iris. Also notice that I've begun using the mechanical pencil for darker lines.
Early stages of drawing: right eye
Here are some cross-hatch lines to create the eyebrow (below). I'm shining a bright lamp on the drawing so you can see the direction the lines are going --so there is some glare.
Because this is a graphite drawing, try to work in one area, slowly expanding to others, being careful not smear the graphite with your hand or wrist.
realistic eyebrow hairs
Now listen very carefully Baby Puppy. You're about to perform a magic trick. Take the 4H pencil, which is a hard lead, and draw some lines with firm pressure. You'll be pushing hard enough to actually dig grooves into the paper. These will serve to create lighter areas that the dark mechanical pencil lead will not be able to penetrate. This effect will be similar to the negative space in fingerprints..
More work on the eye
Now for the graphite technique you'll be using most in this drawing. With a slightly worn mechanical pencil lead (just scribble on something for a moment), use the dullest part of the point to shade with tiny ovals. The ovals should be built up gradually, so that the shading goes from light to dark like a photograph developing in a dark room over time. Go slow, be patient. Use the grain of the paper to aid you in creating the illusion of skin texture. You have to decide when you've reached a shade that makes the best use of the paper texture and the graphite technique.
Graphite over 4B technkque
As you shade over the eyelid, you'll notice the grooves that you've created with the 4H will now begin to stand out (see below). These are the beginnings of wrinkles that you'll soften and add more detail to later. The skin around the eyelid is extremely soft and thin. With a youthful looking person, the eyelid wrinkles don't usually make the person look old. Most people are accustomed to seeing wrinkly eyelids, and won't question your rendering of wrinkles..
photorealistic grahite technique
Back to shape finding. I zoomed in on the eye and noticed more interesting shapes. These are reflections of lights and objects. They will help me to shade the eye, like drawing within the lines of a coloring book. And who said you had to grow up?
Drawing of eye.
Next, we add eyelashes by creating careful strokes with the mechanical pencil. You will want to apply firm pressure, so be careful not to slip, since a kneaded eraser will not remove impressions in the paper.
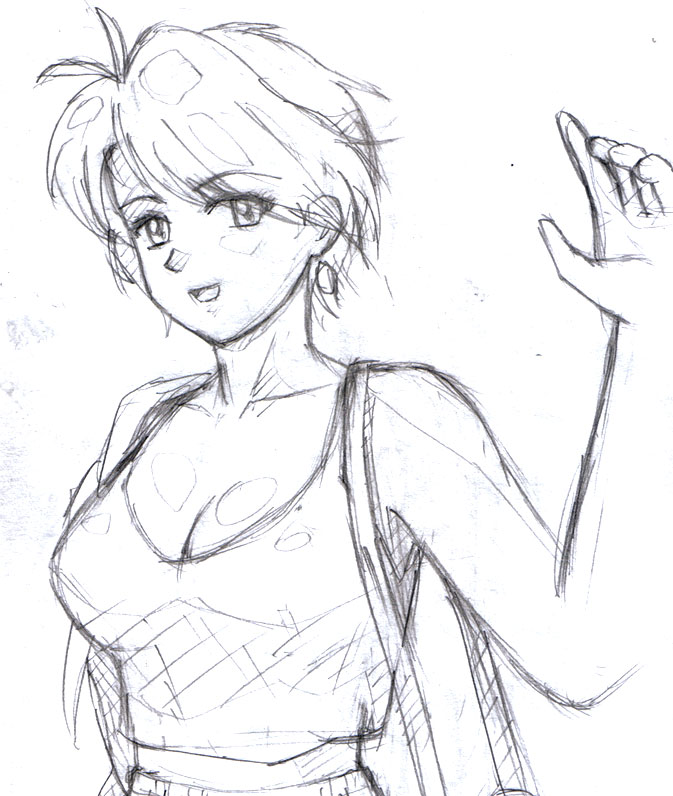
Pencil Sketches Tutorial Of Nature Of Sceneries Landscapes Of Flowers Of Girls Of People Tumblr Of Roses Of Eyes Of Love
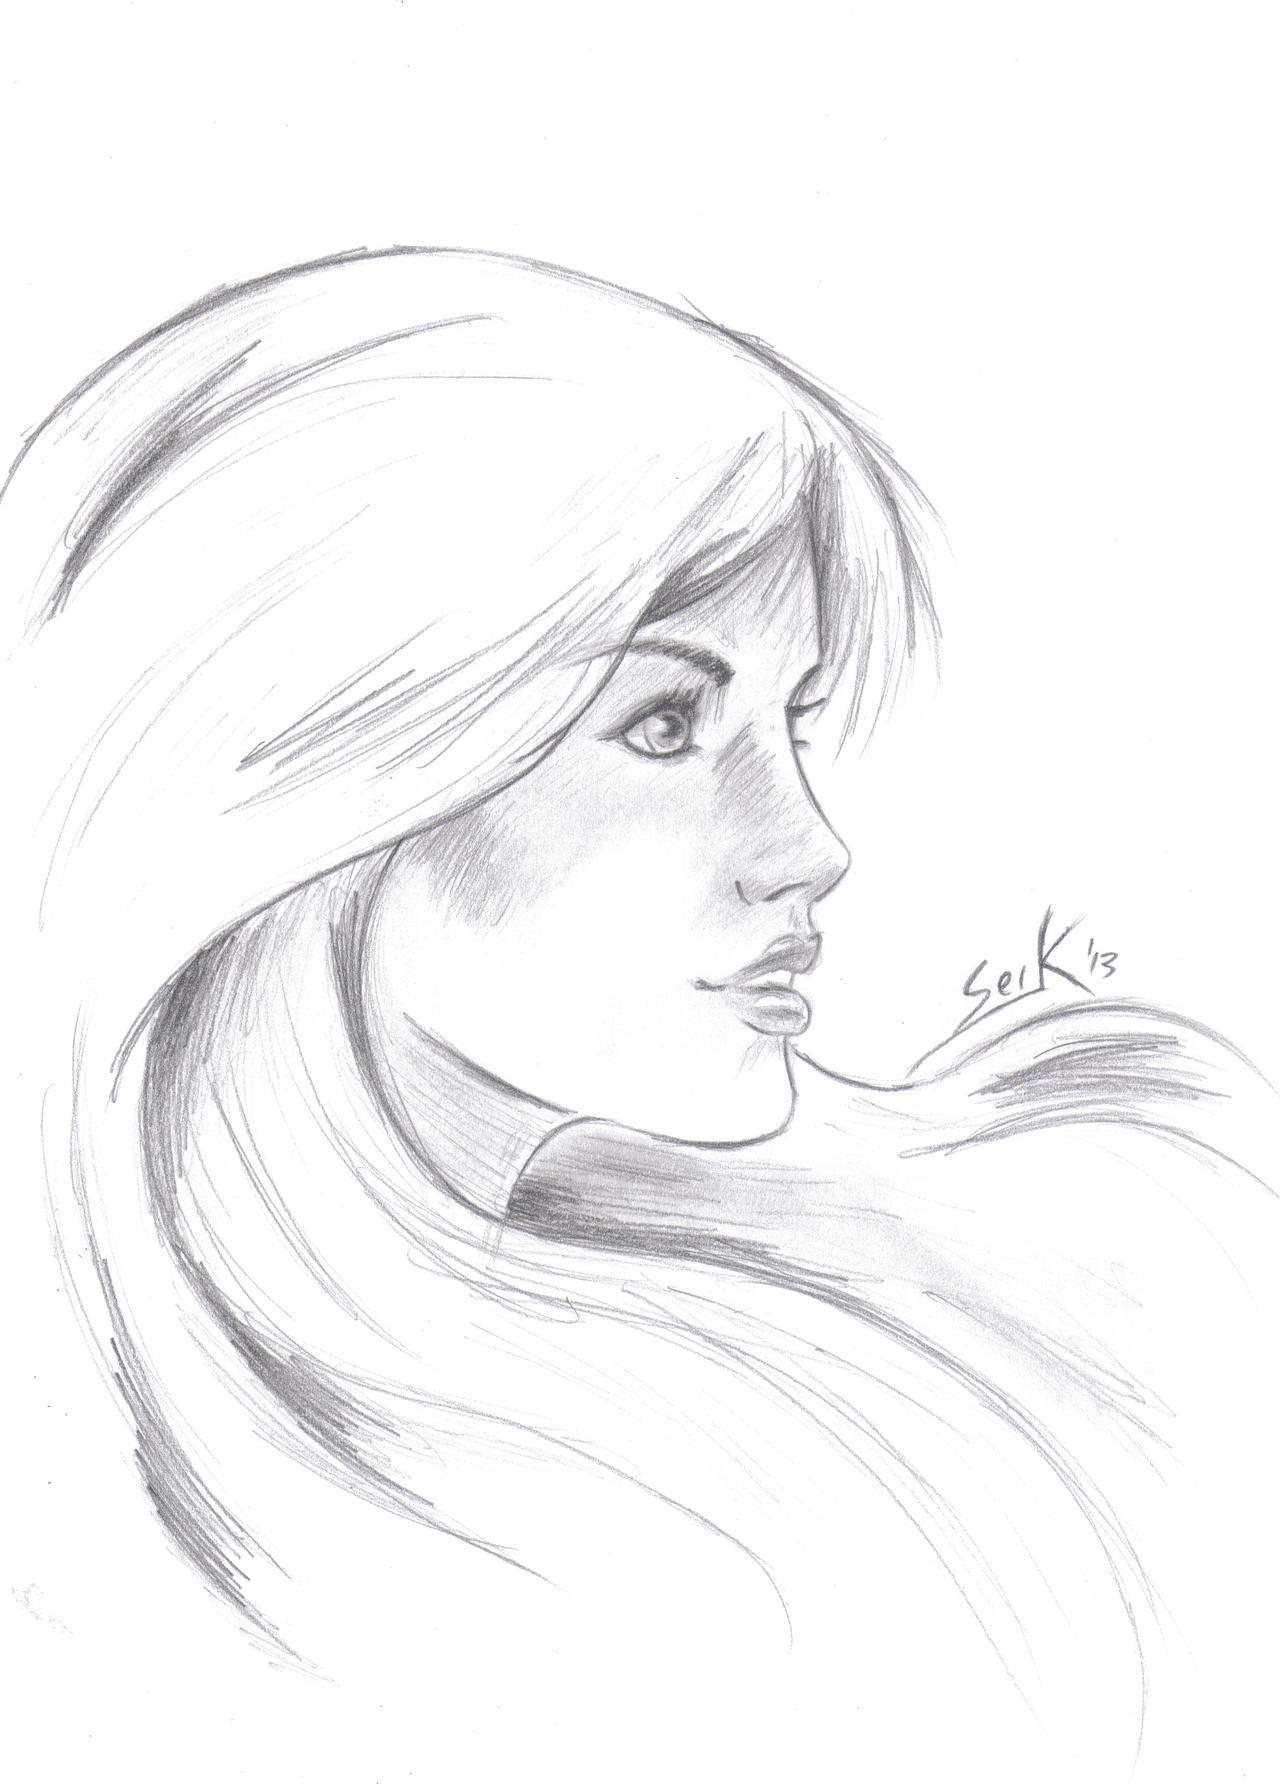
Pencil Sketches Tutorial Of Nature Of Sceneries Landscapes Of Flowers Of Girls Of People Tumblr Of Roses Of Eyes Of Love

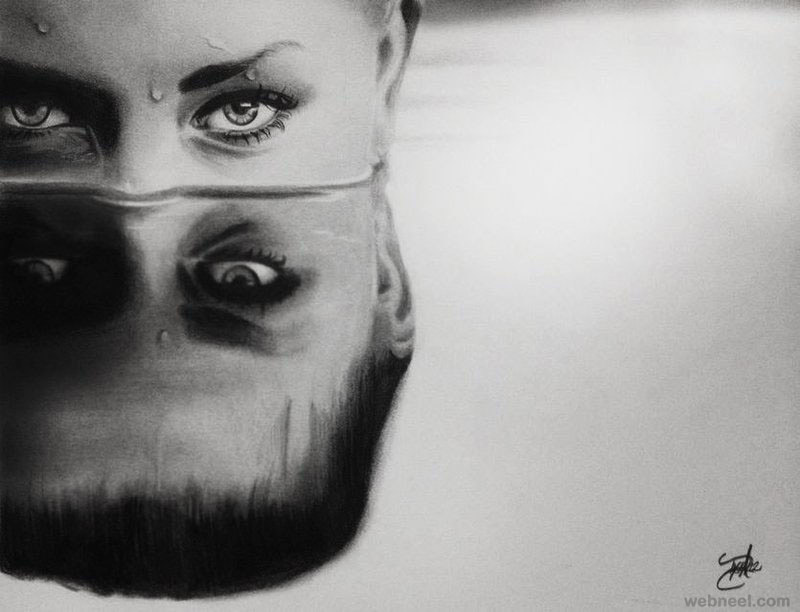
Pencil Sketches Tutorial Of Nature Of Sceneries Landscapes Of Flowers Of Girls Of People Tumblr Of Roses Of Eyes Of Love

Pencil Sketches Tutorial Of Nature Of Sceneries Landscapes Of Flowers Of Girls Of People Tumblr Of Roses Of Eyes Of Love
Pencil Sketches Tutorial Of Nature Of Sceneries Landscapes Of Flowers Of Girls Of People Tumblr Of Roses Of Eyes Of Love

Pencil Sketches Tutorial Of Nature Of Sceneries Landscapes Of Flowers Of Girls Of People Tumblr Of Roses Of Eyes Of Love

Pencil Sketches Tutorial Of Nature Of Sceneries Landscapes Of Flowers Of Girls Of People Tumblr Of Roses Of Eyes Of Love

Pencil Sketches Tutorial Of Nature Of Sceneries Landscapes Of Flowers Of Girls Of People Tumblr Of Roses Of Eyes Of Love

Pencil Sketches Tutorial Of Nature Of Sceneries Landscapes Of Flowers Of Girls Of People Tumblr Of Roses Of Eyes Of Love
Pencil Sketches Tutorial Of Nature Of Sceneries Landscapes Of Flowers Of Girls Of People Tumblr Of Roses Of Eyes Of Love

Pencil Sketches Tutorial Of Nature Of Sceneries Landscapes Of Flowers Of Girls Of People Tumblr Of Roses Of Eyes Of Love

Pencil Sketches Tutorial Of Nature Of Sceneries Landscapes Of Flowers Of Girls Of People Tumblr Of Roses Of Eyes Of Love

Pencil Sketches Tutorial Of Nature Of Sceneries Landscapes Of Flowers Of Girls Of People Tumblr Of Roses Of Eyes Of Love

Pencil Sketches Tutorial Of Nature Of Sceneries Landscapes Of Flowers Of Girls Of People Tumblr Of Roses Of Eyes Of Love

Pencil Sketches Tutorial Of Nature Of Sceneries Landscapes Of Flowers Of Girls Of People Tumblr Of Roses Of Eyes Of Love
Pencil Sketches Tutorial Of Nature Of Sceneries Landscapes Of Flowers Of Girls Of People Tumblr Of Roses Of Eyes Of Love

Pencil Sketches Tutorial Of Nature Of Sceneries Landscapes Of Flowers Of Girls Of People Tumblr Of Roses Of Eyes Of Love
No comments:
Post a Comment